Orbi RBK50V Setup | WiFi Mesh System
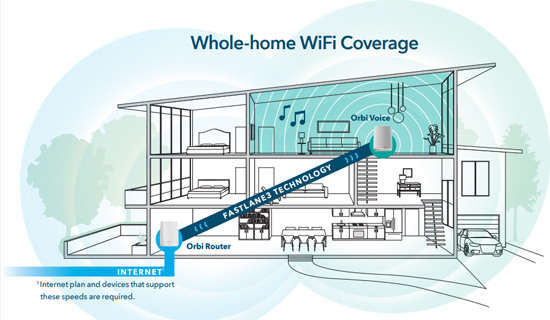
If you are looking for a strong, reliable, and fast signals, then go with Orbi RBK50V. You can now expand your wireless network coverage up to 5,000 square feet with handy Orbi RBK50V setup.
Now, let’s focus on the method to set up the Netgear Orbi WiFi mesh system.
Netgear Orbi RBK50V Hardware Setup Instructions
As you are well familiar with your Netgear Orbi RBK50V mesh system, let us help you with Orbi hardware setup.
- First of all, turn off your home modem.
- Unplug your existing home wireless router.
- Now, replace your home router with the Orbi RBK50V.
- Power on both your home modem and Orbi router.
- Wait until the power LED turns into a solid white color.
- Place your Orbi RBK50V satellite to a central location.
- Plug the power adapter into an electrical power outlet.
- Wait until the power LED shows the white light.
- Press the sync button of Orbi satellite and let the sync process take place.
Call Toll Free for Support: 1-866-889-0666
Orbi RBK50V Setup Methods
After the Netgear Orbi RBK50V WiFi mesh system hardware setup, you need to connect to the Orbi’s network for login. You can do this in two ways. They are Orbi wired and wireless setup.
Netgear WiFi Mesh System | RBK50V: Wired Setup
Connect your home modem to your Orbi RBK50V with the help of an Ethernet cable and follow the below-mentioned steps:
Ensure that your Netgear Orbi RBK50V mesh router is well connected to the power supply.
- Turn on your computer.
- Now, try to connect the Orbi RBK50V router to your home modem.
- A confirmation message will pop up on your desktop’s screen, stating that you are connected to the LAN network.
- So, here you are done with the Orbi RBK50V wired setup.

Netgear WiFi Mesh System: RBK50V Wireless Setup
- First of all, make sure that both the Orbi router and Orbi satellite are powered up and successfully synced to each other.
- Turn on your computer and check the wireless networks’ list.
- Find Orbi RBK50V’s network name from the available wireless networks’ list and try to connect to it.
- Enter the default Orbi login credentials.
- So, here you have completed the Orbi RBK50V wireless setup process.
Stuck somewhere in-between the Orbi setup process? Write to us at support@orbilogin-net.net for instant help.
Netgear Orbi Login | Orbi RBK50V Login
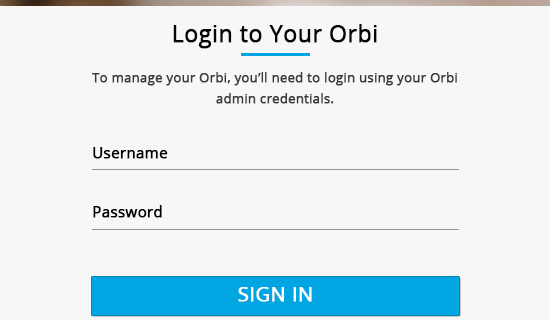
After setting up your Orbi, it’s time to complete the Netgear RBK50V configuration. To do so, you have to simply log into the Orbi web interface. Here’s how:
- Open any of your preferred web browsers on your computer.
- Visit the Netgear Orbi setup web page.
- Enter the default Orbi login credentials and hit on the ‘Sign In’ button.
- You will land on the Orbi admin panel web page.
- Now, follow the on-screen instructions to set up your Orbi router.
- Once done, hit on the Save button.
Orbi RBK50V Setup Issues
If you are struggling with the following:
- Netgear Orbi setup
- orbilogin not working
- Can’t access Orbilogin.com
Go through the guidelines given below:
- Try a different web browser.
- Check if the cables are well connected to the ports.
- Check the connection between your home modem and Orbi.
- Use the default Orbi IP address to access the Orbi login web page.
- Also, clean all the cache, cookies, junk files, and stored history from your web browser.
- Check if your Orbi mesh router and Orbi RBK50V satellite are properly connected to an electrical power outlet.
If you are still struggling with the Netgear Orbi login or setup issues, Write to us at support@orbilogin-net.net.